Link’s camera was an important feature of Breath of the Wild. It acted as the game’s built-in photo mode but also allowed players to record information about enemies and other points of interest. It was a feature of the Sheikah Slate – Link’s iPad, basically – which has not made a return for Tears of the Kingdom.
So how can we start to take pictures in Zelda: Tears of the Kingdom?
By the end of this guide, you’ll know exactly where to go and what to do in order to unlock Link’s camera so you can take pictures in Zelda. It’s a fairly simple sequence of events – but it does involve diving into the Depths, so there are some new gameplay features to bear in mind!
Take pictures in Zelda: TtoK – Where to start

If you want to take pictures in Zelda: TTOK you will need to make a little bit of progress in the main story first. Nothing too complicated – but you’ll need to have beaten the introductory part of the game and unlocked the paraglider/Skyview Tower system.
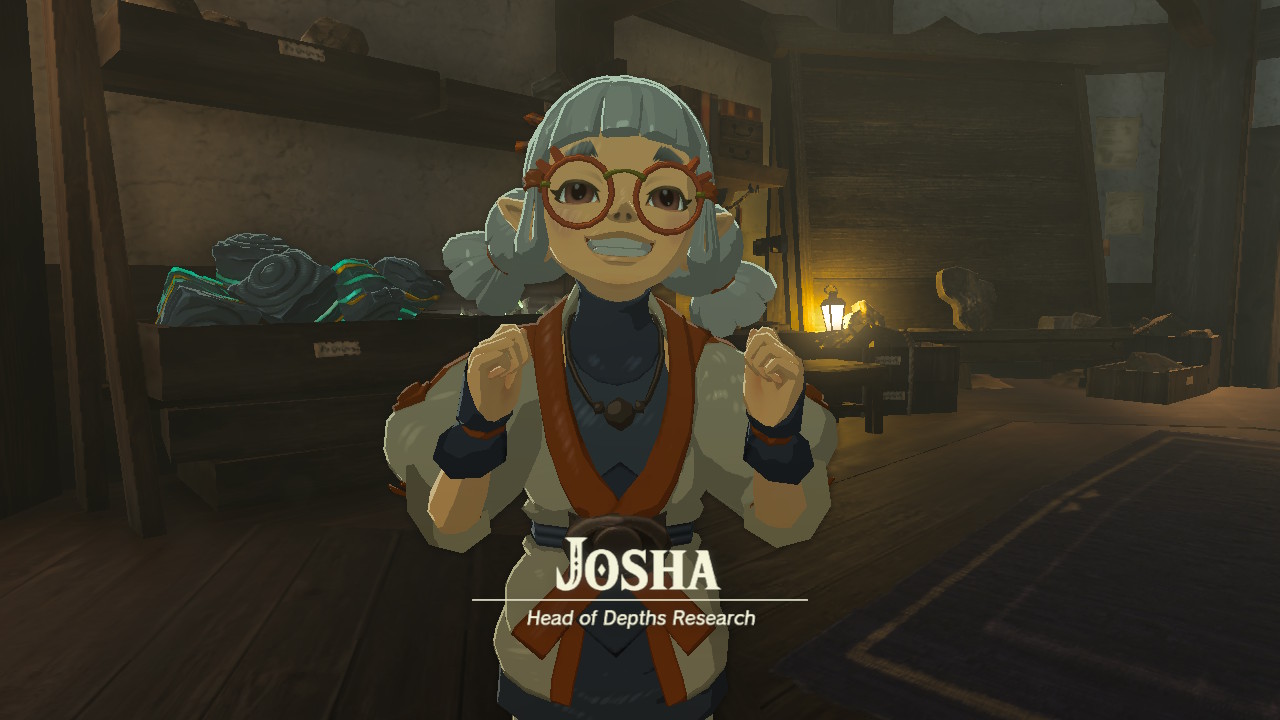
Assuming you’ve done that much, fast travel to the Lookout Landing Skyview Tower and return to where you spoke to Purah before. Josha and Robbie will be having a heated discussion on the ground floor. You won’t be able to miss them – they’ll be marked with a red quest exclamation mark.
Josha wants to explore the Depths – the new underground part of Hyrule revealed by the Upheaval – but Robbie doesn’t think it’s safe. Eventually, Robbie agrees to go himself, as long as you meet him there and protect him from any monsters.
By completing this quest you’ll be able to take pictures in Zelda: Tears of the Kingdom. If you’d rather be surprised, feel free to quit the guide here. If you’d like a little more guidance, read on.

Conveniently enough there’s a Chasm you can use to enter The Depths due south of Lookout Landing. If you’ve already completed Jiosin Shrine, you can just fast-travel there and head slightly north. A word of warning – Hyrule Field Chasm is surrounded by Gloom, which will sap away at your maximum health (temporarily) if you walk into it. So tread carefully.
Make your way to the Chasm – this time you can head for the guy peering into its depths for a safe starting point.

You can talk to this guy, who’ll simply tell you that Robbie’s already jumped into the Chasm, or you can just dive in yourself. Take care to hit the brakes with your paraglider on the way down – it’s not a soft landing. We’re now in the Depths, a necessary step to take pictures in Zelda, and things are a little gloomy down here.

The next step to take pictures in Zelda: Tears of the Kingdom requires you to talk to the surveyor down here who’ll point you in Robbie’s direction whilst lamenting he doesn’t have enough Brightbloom Seeds to proceed. You should already have just enough of these to get by down here for this initial excursion. You can throw them by holding R and tapping Up on the d-pad, or attach them to an arrow and fire them into the distance for a bit more range.
I’d say as long as you can at least SEE the next bit of light you’re generally okay – don’t feel as though you have to light the whole place up. Down in The Depths, things work a little differently. Taking damage from Gloom or enemies infested with it will reduce your maximum health. Taking a hit from a standard enemy will lock out a heart container until you can recover it at a Lightroot, eat some special recovery food, or return to the surface.
Following the path of lit fires, throwing out Brightblooms every now and then, you’ll quickly arrive at your first Lightroot. These work the same as Skyview Towers on the surface – they’ll reveal a big chunk of the Depths map and restore your locked-out heart containers.

You can just about see the next Lightroot in the distance, but there are a few dangers along the way. You’ll encounter a couple of packs of Gloom-infested enemies. You can try to slip by these or fight them – they’re not very strong but can quickly leave you in a bad place if you get hit too much, so be cautious. If you do decide to fight them, don’t forget to break up the ore nodes they’re camped out by for a fair amount of Zonaite.
You’ll reach the second Lightroot in no time at all, so activate that to reveal the map and heal any damage. Robbie is located just behind it, and talking to him will unlock the ability to take pictures in Zelda: Tears of the Kingdom. To complete the quest, grab a photo of the statue Robbie points at. From there you can just fast-travel back to Lookout Landing and you’re all done!

Thanks for reading our ‘How to take pictures in Zelda: Tears of the Kingdom’ guide. Now you’ll be able to take pictures in Zelda, anywhere you like in Hyrule, the Sky Isles, and the Depths below. We’ll be bringing you more guides and quick tips over the next few weeks, so keep your eyes peeled for more. Hungry for help right now? Why not join our Discord server to ask our assembled crew of layabouts and miscreants what to do next.