RAM, or Random Access Memory, is computer memory used to store data temporarily. The more data that can be stored, the faster your computer will run. So having plenty of RAM in your machine will make many activities smoother, whether playing video games, online slot machines, or getting some work done.
Determine the laptop’s RAM
Before upgrading your laptop’s RAM, you must first determine how much it has. There are several ways to check this, but by far the easiest way to do it is from the Windows Task Manager. Right-click on the toolbar at the bottom of the screen, and select the option for Windows Task Manager. Then, click on the Performance tab, and you’ll see how much RAM you have under Memory. Anything less than 4GB is too low to run modern applications smoothly and should be upgraded.
Check if the RAM can be upgraded
Not all laptops can have their RAM upgraded. Some laptops are sealed, so you can’t access the hardware to replace them, and some have the parts soldered directly into the motherboard. There are also some software restrictions that may impede your ability to upgrade your RAM, as the 32-bit versions of Windows will not recognise any parts over 4GB. There are Memory Advisor Tools you can download and run on your machine to determine if RAM is upgradeable. They show you how many memory slots your laptop has and the maximum amount of RAM you can install.
You may also need to check if the new hardware is compatible with your motherboard. As with a PC, the ports can differ slightly and as new models are released, they may not fit into your laptop. Although it’s not always as simple identifying as it is with PC where you can compare the likes of DDR4 and DDR5 versions.

Install the new RAM
If you’ve decided that your laptop needs an upgrade and you’ve found sticks that are compatible with your machine, you’ll need to install them. Luckily, installing RAM in a laptop is one of the simpler parts to install, and we’ve created a handy guide to help you through the process.
- Power off the laptop – Always ensure it is completely switched off before working on it! If you want to be safe, remove the battery before you begin working.
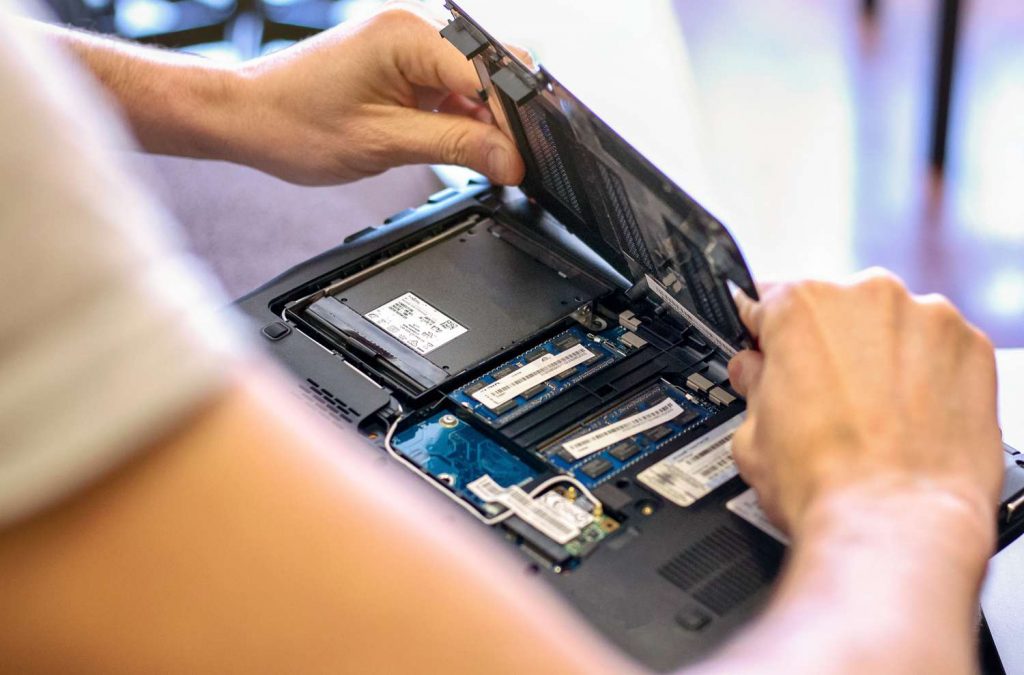
- Remove the back panel – To install your RAM, you need to remove the back panel from your laptop. These are often screwed into the laptop, so you’ll need to remove all screws before attempting to remove them. Sometimes the screws are hidden underneath the laptop’s “feet”, so if you can’t find any screws but still can’t remove the back panel, check there.
- Remove the old RAM – Once you’ve removed the back panel, you should see the old hardware in the laptop. To remove it, push down on the clips holding it in place. There’s one on each side, and once the RAM is free from the clips, it will move upwards at an angle and can be pulled out of the machine. It’s recommended that you recycle waste electronic equipment wherever possible.
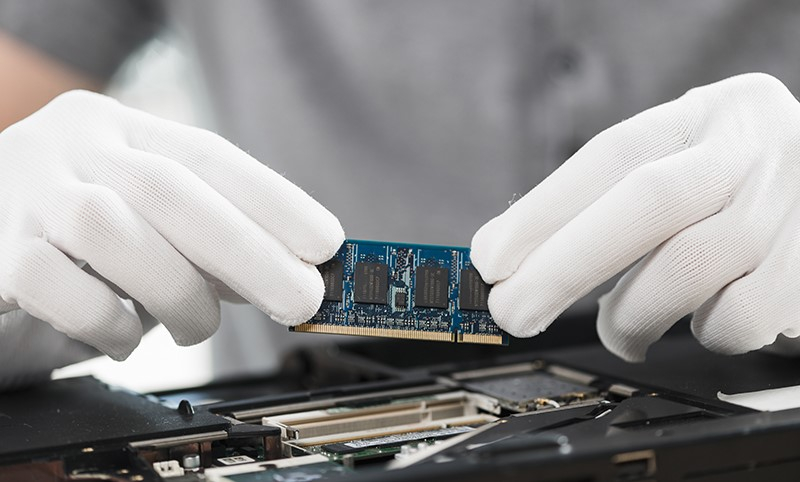
- Input the new RAM – Now that the old hardware has been removed, you can install your new part. To do so, insert the sticks into the empty slots at an angle with the gold edge facing towards the laptop. Apply pressure evenly to both sides of the stick and push it into the slot. Once it is in place, push down on the stick until it is lying flat against the laptop. You should hear a click as the clips move over the part, holding it in place. If installed correctly, the RAM should stay in place once you remove your fingers.
- Make sure it’s in place – If the hardware is installed properly, it should not move from the machine. You can test this by turning the laptop upside down (we recommend doing so over a soft surface) or gently trying to move the RAM with your fingers.

Once you’ve followed all the steps, you need to test that it’s working! To do so, turn on your laptop – everything should run as normal; if you run into any error messages, something has gone wrong in the installation. Check to see if the RAM is properly inserted; if it is, check if it is compatible with your machine.
If everything works as normal, you can verify that your RAM has been added by going back to the Windows Task Manager and clicking on the Performance tab. Under Memory, you should now see the part you have just installed!
Conclusion
While it’s easy to discard an old laptop when it starts to slow down, it’s much more environmentally friendly to restore it to its former glory. Replacing the RAM in a laptop is one of the easiest and cheapest ways to get a performance boost – much cheaper than buying a brand-new laptop. So if your laptop is running slowly, check to see if it can be upgraded before considering a replacement.
You can find more helpful content like this in our Guides section.