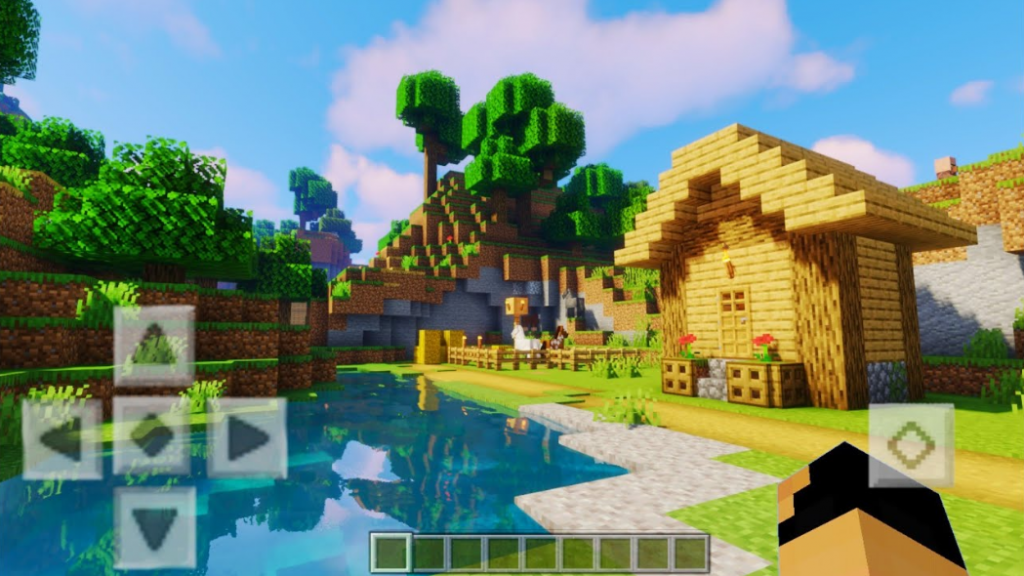
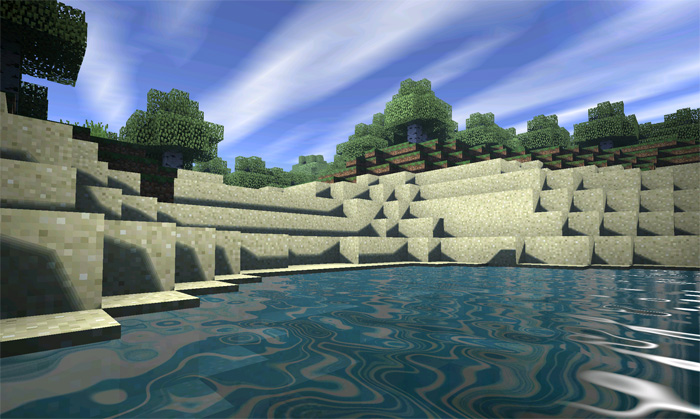
Minecraft is one of the most popular games today, even after more than a decade following its release. However, while this game has a great fan base, new players, especially those used to games with high intensive graphics, might find it different and a bit challenging. This is a result of the game’s blocky look and feel. The good news is that Shaders will solve this problem.
The greatest and most innovative solution to the visual interface of Minecraft is Shaders. The Minecraft community invented shaders to enhance the graphics and overall look of the game. It gives the players what was otherwise lost in the game – realistic by providing better graphics to which players are more accustomed. In addition, the look of the game’s environment and blocks are greatly improved with Shader’s visual effects. This improves players’ overall experience in a beautiful and fun way.
Installing Minecraft Shaders on your mobile device, android specifically, can be a bit tricky since they operate on different editions of Minecraft. So we will be working you around how to install Minecraft on your android device by giving a detailed, step-by-step guide.
Detailed Installation (Step by Step)
There are some checks needed to be done before downloading Shaders on your Minecraft. This includes making sure your android has enough RAM to successfully run the program. Second, you need to know what Minecraft Shaders are out there and make a choice. There are different Shaders you can choose to visually enhance your game of Minecraft, and we will be identifying some later in this article.
If you have done this already, below is the guide to installing a Minecraft Shader on your android device.
Step 1: Download your Minecraft Shader pack choice from your mobile browser. Make sure the file extension ends with “mcap” and not “.zip”. If the pack ends with .zip, it has to be unzipped by the player.
Step 2: You can proceed to the next step after successfully downloading the file. Open your file manager, search and locate the downloaded Shader pack file.
Step 3: After locating the Shader pack, launch with Minecraft. You do this by long-pressing the file and selecting the “open with” option.
Step 4: After selecting the “open with” option, search and choose Minecraft in the application to mean and open the file.
Step 5: Launching the Shader file with Minecraft launches Minecraft itself. The next step is navigating to your phone settings, searching and clicking on “Global Resources”, locating “My Packs”, and activating the Shader pack downloaded.

List with some Recommended Shaders
There are cool and exciting Shaders for a great Minecraft experience we will be recommending to you. There is a Shader for everyone, be rest assured.
Haptic Shader
If you are a player who wants a Shader that will enhance the graphics of their game realistic while having little to no lag experience, then the Haptic Shader is for you. It enhances all the features of the game like shadows, skies, trees, plants and water, making them realistic and life-like with the improved colours and shades.
Autumn Pack
This Shader pack gives a new and fascinating perception of the Minecraft world with its Halloween and autumn-like looks. If you are up for trying a new and different look, this pack is right for you.
Zebra Shaders PE
This Minecraft Shader is best for players with low-end devices that don’t have great RAM. However, it still improves the game’s graphics greatly, gives good lightning, and makes the features life-like, like the rustling of trees. In addition, it makes the game realistic generally.
Reality Revolx
If you are up for more adventure and excitement on Minecraft, then this Shader improves the game’s colour and features. For example, the Nether looks more dangerous, and the lava more sinister.
SEUS PE Shader
This could be the best Shader that improves the game’s entire graphics and makes it life-like. In addition, the game’s exclusive features look realistic, from the shimmering water and life-like tree to lava pools. This pack is recommended for use with texture packs.

Error Solution
The reasons why downloaded Shaders might not work on your device could be a result of your device or your phone’s internet connection.
Here are some common problems and how you can troubleshoot them.
I can’t install my Shaders Pack
The first step to solving this problem is checking your internet connection if it is strong. Then, if the problem persists, check your phone’s memory space, as you might not have enough space. Freeing up your memory’s space is a way to troubleshoot. Lastly, if the problem persists, you probably didn’t download the android supported version, or the file extension doesn’t end with “mcap”. Uninstall and re-download Shader.
My Installed Shaders don’t load or work properly
Bad or poor internet connection is one of the highest causes of problems when launching your Shaders. First, check your data connection and ensure it is strong. The app server might also be down, or there is an overload of players using the Shader at the time. Try again after some minutes.
Blank Screen after Shaders Launch
Having a blank screen or crashing after launching your Shader pack with Minecraft can be troubleshot with some of these processes. The simplest solution is closing the app on your opened tabs and reopening it. It might be a temporary issue, and your Minecraft will successfully launch. If this doesn’t work, rebooting your device is another way to troubleshoot. If the problem persists, uninstall the Shader files and re-download them.
Final Words
The players’ experience on Minecraft has been greatly improved with the introduction of Shaders. Players can now enjoy the game while getting a life-like experience and better graphics. This article has provided you with a detailed step-by-step guide on how to install Shaders on your android. We also provided a list of recommended Shaders for you, common errors that might occur when launching your Shaders, and how to troubleshoot these issues. We hope this article answers all your questions regarding Shaders. It’s about time we all enjoy our game of Minecraft.
For even more helpful pieces like this one, pay a visit to our guides section HERE.