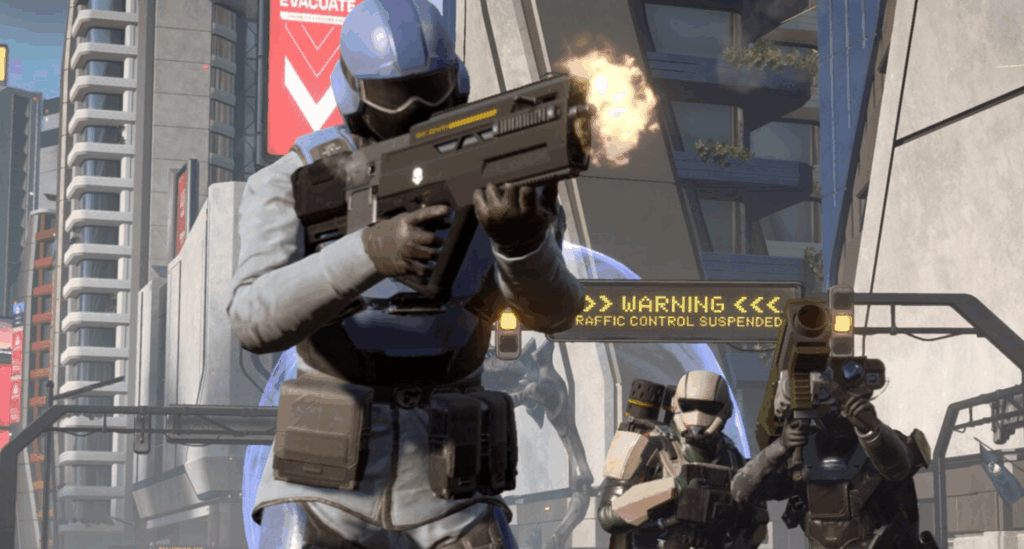
Helldivers 2 is a lot of things. It’s fun, it’s chaotic, and it’s a great time. But it can also be tough, particularly as you realise that friendly fire from your squad and own equipment is a thing…..That and the explosions, the bugs, the robots and the planets themselves, seemingly trying to kill you.
With Helldivers 2 now being out on the Xbox, there’s a whole host of players new to the game who are learning the ropes.
So, to help all those future bug stompers, and in the name of Liberty. We’ve put together a list of Helldivers 2 advice and tips to make sure you’re effective in our fight to save Super Earth!

Our top 6 tips and tricks for Helldivers 2
1. Hit the deck! The unsung power of going prone
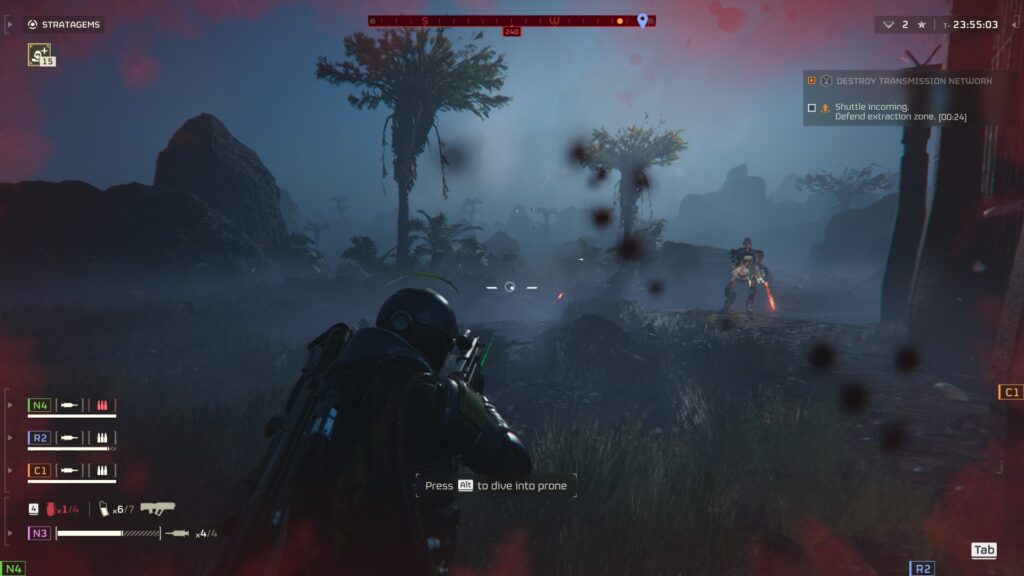
In the heat of battle, your dive isn’t just for style; it’s a core survival mechanic. Going prone in Helldivers 2 can negate massive amounts of damage from a variety of sources.
Although it does look cool if you can time that dive properly with an explosion or two……Helldivers 2 looks wicked with all the clouds of smoke and fire!
- Survive the Unsurvivable: Find yourself next to a ticking Hellbomb or a friendly (but poorly placed) 500KG Bomb beacon with no time to run? Hit the dirt! Going prone allows you to survive most explosions at surprisingly close ranges.
- Extinguish Flames: On fire? A quick dive will immediately put out the flames. This works for almost all fire sources, with the notable exception of fire tornadoes.
- Become a Smaller Target: When you’re being swarmed by bugs or targeted by Automaton laser fire, diving and crawling make you significantly harder to hit. Weave random dives into your retreat to throw off enemy aim.
- Weapon Synergy: Certain weapons have hidden benefits when used prone. For example, when firing the Sickle laser rifle until it overheats, going prone will cause you to take the initial fire damage but prevents the lingering “on-fire” status effect. It’s a small edge that can save a Stim.

2. Orbital strikes: Respect the radius
That glowing red beacon in Helldivers 2 is a promise of liberation, but it’s also a team-kill waiting to happen. A common mistake is underestimating an orbital’s blast radius. To avoid getting vaporised by friendly fire, the most important rule is to Respect the Radius.
Use the beacon as a reference point and always give it more space than you think you need.
- Standard Barrages: For most orbitals, a distance of 50m is a safe bet.
- The Exceptions: The Orbital Gas Strike and Napalm Eagle have a wider spread. Give them at least 60-65m of space.
- The Big One: The 380mm HE Barrage is notoriously wide and inaccurate. To be truly safe, you need to be 70-75m away from the beacon.
- Walking Barrages: These are trickier. Note the direction the beacon was thrown. The barrage will travel in a line away from that position. Stay behind the beacon’s initial location by at least 50m to be safe.
There’s not a single Helldiver out there that hasn’t killed themselves and others with their well-intentioned support strike. It’s a core part of the Helldivers 2 experience. But the less it happens, the better it is for everyone!

3. Master the stratagem throw
Did you know you can increase your throwing range without specific armour in Helldivers 2? Stratagem balls inherit your character’s momentum. Use this to your advantage to place beacons exactly where you need them.
- Running Throw: A simple running start will add a few meters to your throw.
- The Dive Throw: For maximum distance, start running and throw the beacon at the peak of a dive. A well-angled dive-throw can add 10-15m to your range, perfect for hitting Bile Titan heads or sniping fabricators from afar.
- Jump Packs: Launching yourself with a jump pack and throwing mid-air gives you unparalleled height and distance.
As a fan of the Jump Pack (although ragdoll landings are more my style….). I have to say that the inertia from that for a throw in Helldivers II, makes it worth the slot in your loadout.
4. Priming the extraction: The one-input escape
On higher difficulties in Helldivers 2, standing still at the extraction terminal for five seconds is a death sentence. You can prepare the terminal ahead of time to make the final escape a breeze. This one was actually taken from Reddit, because I had no clue you could do this in Helldivers 2!
Here’s how:
- Approach the extraction terminal anytime after it becomes available.
- Input the entire directional code except for the final command.
- Step away from the terminal. The code will remain primed.
Now, when your team is ready to extract under heavy fire, you only need to run to the terminal and press a single button to start the timer, saving you from getting stun-locked and sent flying.

5. Smart plays for static missions
Not all missions are about running across the map. For Eradication missions or civilian defence, you’re essentially playing a tower defence game. Adapt your loadout accordingly.
- Booster Etiquette: If the entire operational area is only a few hundred meters wide, boosters like Stamina Enhancement or Increased Radar Range are wasted slots. The enemy is already on top of you, and there’s nowhere to run. Opt for Hellpod Space Optimisation, Vitality Enhancement, or Muscle Enhancement to be a better defender.
- The Art of Emplacement Stacking: In a defence mission, your emplacement stratagems (Sentries, Tesla Towers, Minefields) should be used on cooldown. Don’t “save” your Mortar Sentry for a better moment. The best moment is now. By the end of a high-difficulty defence mission, the area should be a fortress littered with multiple overlapping fields of fire. Two sentries are always better than one.
As someone who’s been incredibly guilty of saving stratagems for the “right moment” in the past. It was a tough lesson to learn. But take heed, use what you have at your disposal! Helldivers 2 is generous in cool-downs and re-stocks, etc.
I think this is symptomatic of all of us RPG players who save all of our “good” healing items for “just in case” when there might be a boss fight to come. But it never does…..

6. Eagle-1 strike patterns: Know your shapes of destruction
To use your Eagle stratagems effectively in Helldivers 2, you need to know how they deploy. They fall into four distinct patterns based on the direction your Helldiver is facing when you throw the beacon.
- Perpendicular Group (Airstrike, Napalm, Smoke): These create a line of destruction perpendicular to the direction you are facing. Imagine a “wall” of explosions or fire. Perfect for clearing a wide swathe of enemies or blocking off a chokepoint.
- Parallel Group (Strafing Run): This is the only one that attacks in a line parallel to your facing direction. It travels in a straight line away from where you threw it. Ideal for wiping out “conga lines” of enemies charging you.
- Square Group (Cluster Bomb): The Cluster Bomb deploys in a wide rectangle, also perpendicular to your facing direction. It’s your go-to for clearing large, loosely-packed groups of weaker enemies.
- Pinpoint Group (500KG Bomb, Rocket Pods): These target a single point with high precision.
- 500KG Bomb – Important Note: The 500KG bomb is dropped by Eagle-1 as it flies over. This means it travels at a slight angle in the direction you threw the beacon. If you throw it at the base of a cliff you’re standing on, the bomb may impact the cliff face right next to you. Be mindful of the angle!
- Rocket Pods – Important Note: The rockets target the largest enemy near the beacon at the moment of impact, not when they are fired. Don’t try to lead your shot; place the beacon directly on the Charger or Bile Titan you want to eliminate.
As a Napalm and Cluster Bomb fiend, learning this made my team kills reduce a good way (not entirely…) in Helldivers II. I rarely tinker with the 500KG bomb because it can go so wrong, so quickly. Having said that, the pay-off for a well-placed strike is as satisfying as a plasma grenade stick in Halo.
Good luck!
As I said at the start. Helldivers 2 is a lot of things. Chaos is the primary adjective that springs to mind.
Using the tips above won’t stop the chaos, but they should help mitigate the impact it has on your drops. Now go, in the name of Liberty, destroy all those that dare try to invade Super Earth!
For more tips and tricks for games such as Helldivers 2 and more, head on over to our Opinion Pieces section. And if you want to purchase the game for yourself, you can do so at Loaded.com (formerly CDKeys). Purchasing through that link may earn us an affiliate commission. You don’t have to buy through it, but doing so helps us keep the site running.